
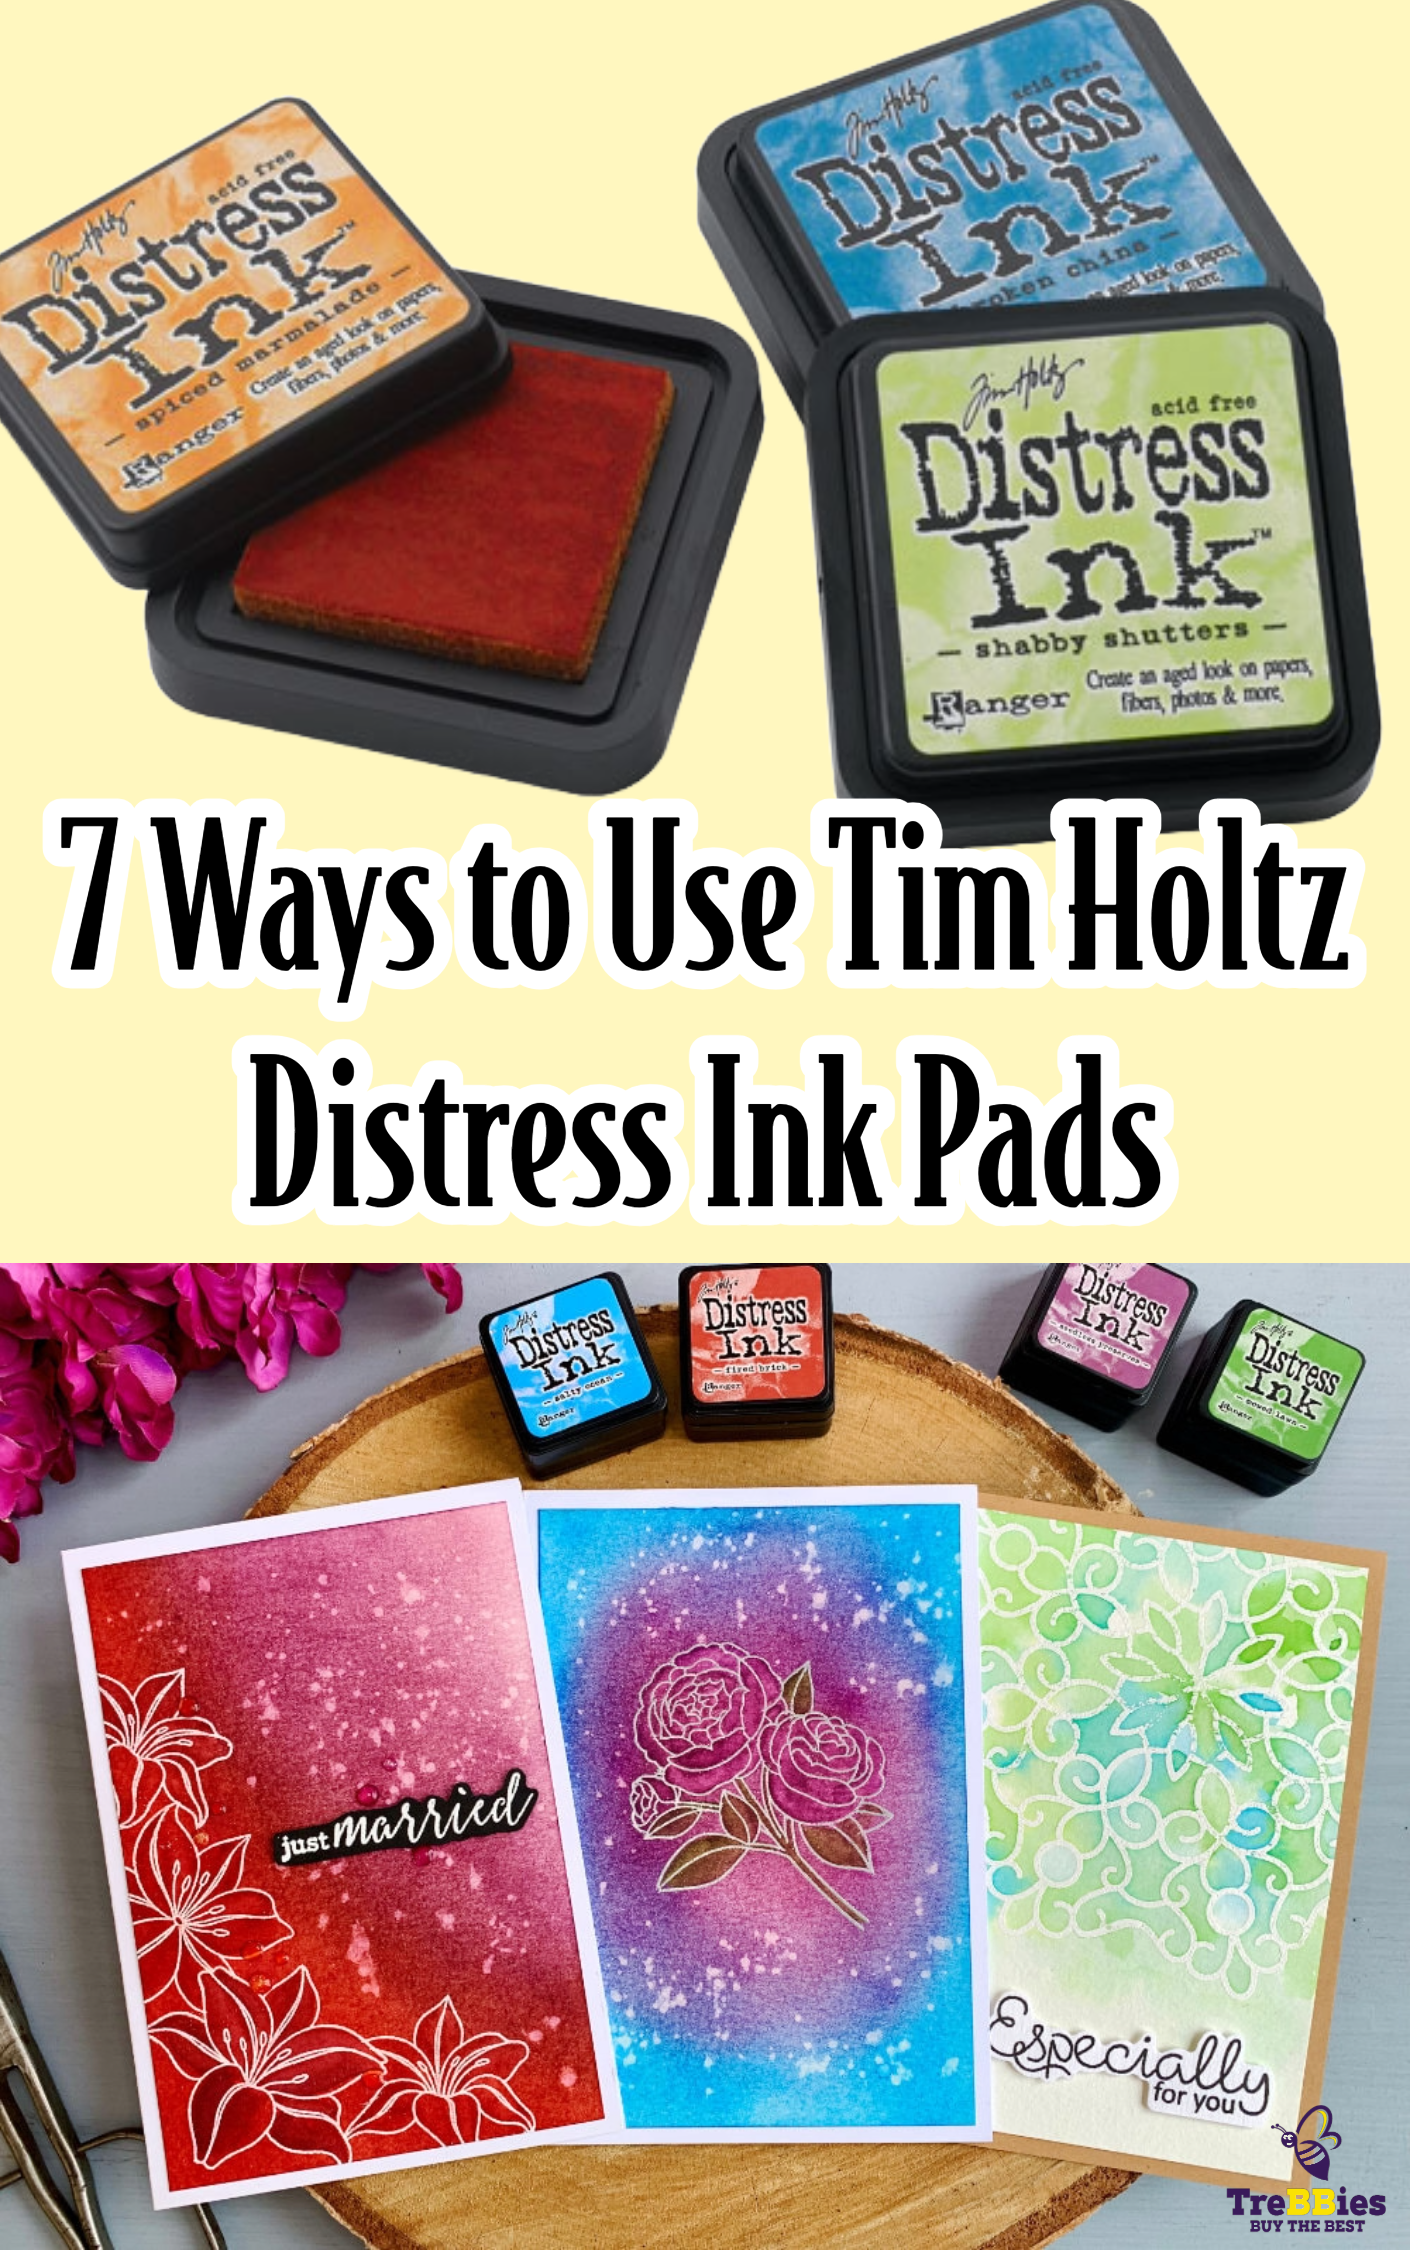
If you've ever picked up a Tim Holtz Distress Ink Pad, you already know they're more than just ink-they're a creative tool with endless possibilities. Whether you're new to crafting or a seasoned maker, here are 7 go-to ways to make the most of these colorful pads.
1. Blend Beautiful Backgrounds
Use a sponge or blending tool to create smooth, dreamy backgrounds. Perfect for cards, journals, and scrapbooking.
2. Stamp with Style
Distress Inks give stamps a soft, vintage effect that's great for layering and building texture.
3. Watercolor Your Way
Dab ink onto a palette, add water, and paint like you would with regular watercolors-ideal for adding color to stamped images or hand-painted accents.
4. Create Splatters & Water Effects
Spritz water over your inked paper and watch the magic happen! The ink reacts to water, creating cool speckled or oxidized effects.
5. Stencil It Up
Pair your ink with stencils to add patterns and depth to your projects with ease.
6. Ink The Edges
Brush ink around the edges of paper or tags to give them a vintage or finished look-great for junk journals and handmade crafts.
7. Customize Embellishments
Use ink to color die cuts, ribbon, chipboard, or even fabric. Just dab and blend for a custom look that matches your project perfectly.
Ready to Play?
With just one Distress Ink Pad and a few tools, you can do so much. Whether you're blending, painting, or stamping-these inks are made to be explored.